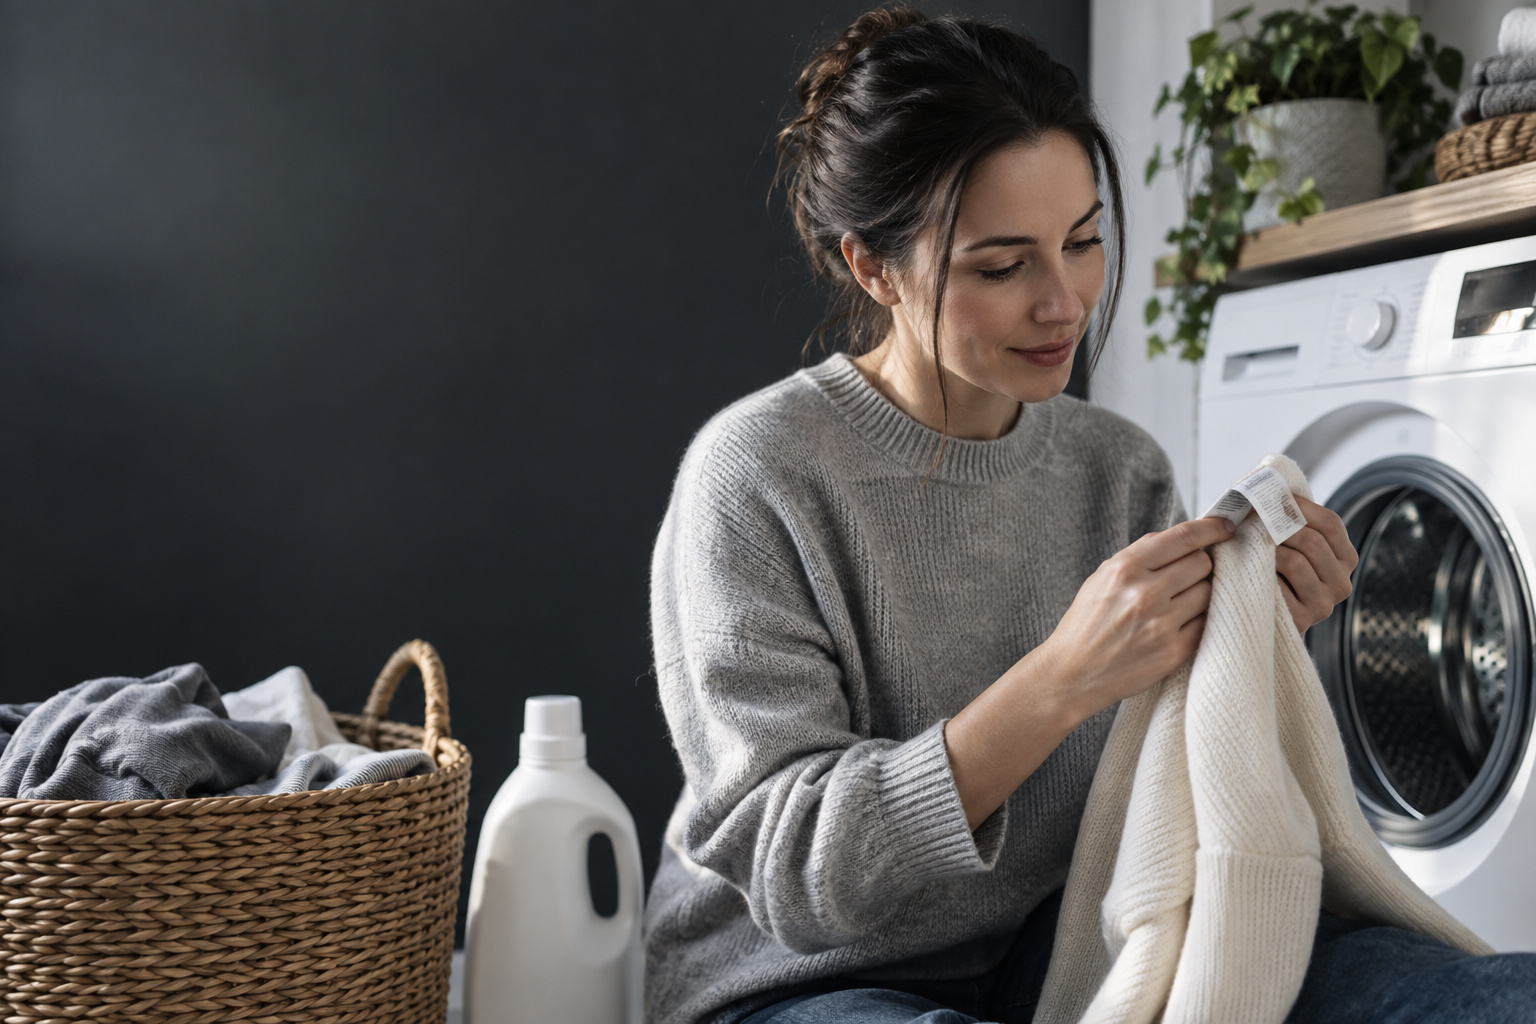
A stain is a local problem, but a treatment can affect the entire garment. Before reaching for a bottle, work out what the finished item can tolerate. Fiber content helps describe a fabric; the care label sets the starting limits for handling the garment, including its construction and finishes. This guide builds a short decision record you can use at the laundry sink.
Read the complete instruction, not one familiar word
Take the garment off and find every care label. Read both sides, including small print below a symbol or inside a folded label. Separate the fiber-content information from the cleaning instructions. A cotton blend, for example, is a material description rather than permission to use any temperature or chemical treatment. A printed decoration, lining, trim, or structured part may make your usual method unsuitable.
The FTC explains that care instructions address regular care and warn about potentially harmful procedures. That does not make every stain-removal experiment a supported use. Write down the allowed cleaning method, any washing restrictions, bleach warnings, and drying instructions before treating the mark. If wording is missing or unreadable, ask the garment manufacturer rather than filling the gap with a familiar routine.

Convert the label into a treatment boundary
Start with the cleaning method. If the item requires professional care, use the guide to delicates and dry-clean-only garments before introducing water or a household stain remover. If washing is allowed, note the specified temperature and handling instructions. Permission to machine wash does not automatically authorize soaking, vigorous brushing, or applying a concentrated product directly to the face of the fabric.
Next, identify any bleach restriction. A pale or white garment is not proof that a bleach is suitable. Read the words as well as any symbols, and look up an unfamiliar symbol through the garment maker. Finally, note how the item should dry. You need a complete route from treatment through drying, not merely a way to make the wet mark less visible.
Check the product label against that boundary
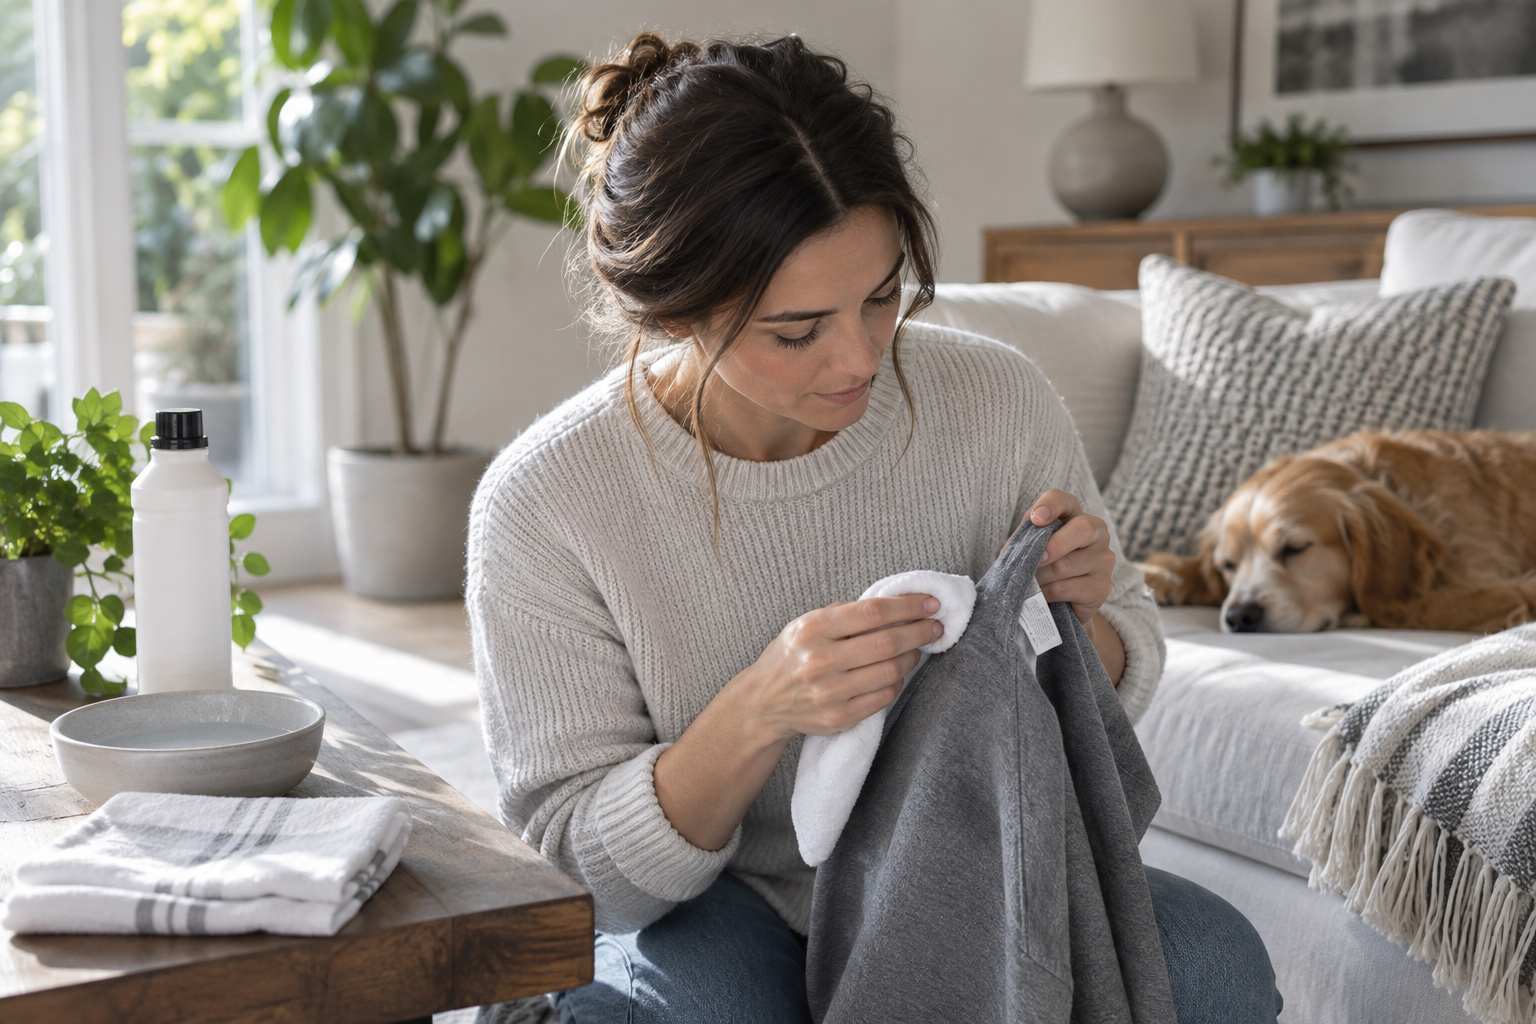
Read the stain remover itself, not just the front-panel claim. Find its permitted materials, exclusions, application method, contact time, rinsing instructions, and required washing step. A general claim about laundry is not evidence that the product suits a special finish or delicate trim. When garment and product instructions conflict, do not use that combination. Contact the manufacturer if the compatibility remains unclear.
Use one suitable treatment at a time and do not mix cleaning products. The Washington Department of Health warns that bleach can react dangerously with other cleaners. There is no reason to turn a stain into a chemistry experiment. If you are considering a laundry additive, the oxygen and chlorine bleach guide explains why the specific exclusions matter more than the category name.
Make a hidden-area test useful
A material spot test is a check for an obvious adverse response, not a guarantee of success. Follow the product manufacturer's testing directions on an inconspicuous area that represents the fabric you intend to treat. An inside seam can be useful only if it has the same material and finish. Testing a plain lining does not establish safety for a printed outer panel.
Use a clean white cloth so transferred color is visible. Follow the stated dilution and contact time, then complete the specified rinsing and allow the test area to dry as instructed. Compare color, texture, sheen, and shape with an untreated area. Stop if you see an unwanted change. If no representative hidden area is available, that is a good reason to seek professional advice instead of treating a prominent mark.
Match the next step to the actual stain
Once the garment and product pass the first checks, identify the spill as specifically as possible. Black coffee, a milky coffee, cooking oil, and a pen mark do not begin with the same information. Record what caused the mark, roughly when it happened, and whether anyone has already washed, heated, or treated it. This prevents an old treatment from becoming an invisible part of the next decision.
The ACI stain guide gives different starting methods for different stains. Follow the relevant route within the care-label limits rather than choosing the strongest product you own. Our fresh coffee and tea guide shows how this works for a common beverage spill. Product cards can help you find a category to investigate; they do not establish compatibility with your garment.
Finish with an inspection and a record
After the instructed laundering step, inspect the affected area in good light before applying dryer or iron heat. Look at both faces of the fabric and compare the area with nearby material. A remaining dark outline, transferred dye, and a changed finish are different outcomes; another dose of stain remover is not automatically the answer to all three.
Keep a short note if the garment is valuable or the problem recurs: stain, product, label instructions followed, test result, and outcome after drying. That record is more useful than remembering that something vaguely worked once. Stop when the fabric changes, the treatment instructions run out, or repeated careful attempts stop improving the mark. The aim is to preserve a wearable garment, not to pursue a spotless patch at any cost.